Showing posts with label coffin. Show all posts

Creeper Coffin Skate Deck


Skateboarding and horror movies. The foundation of my youth. 

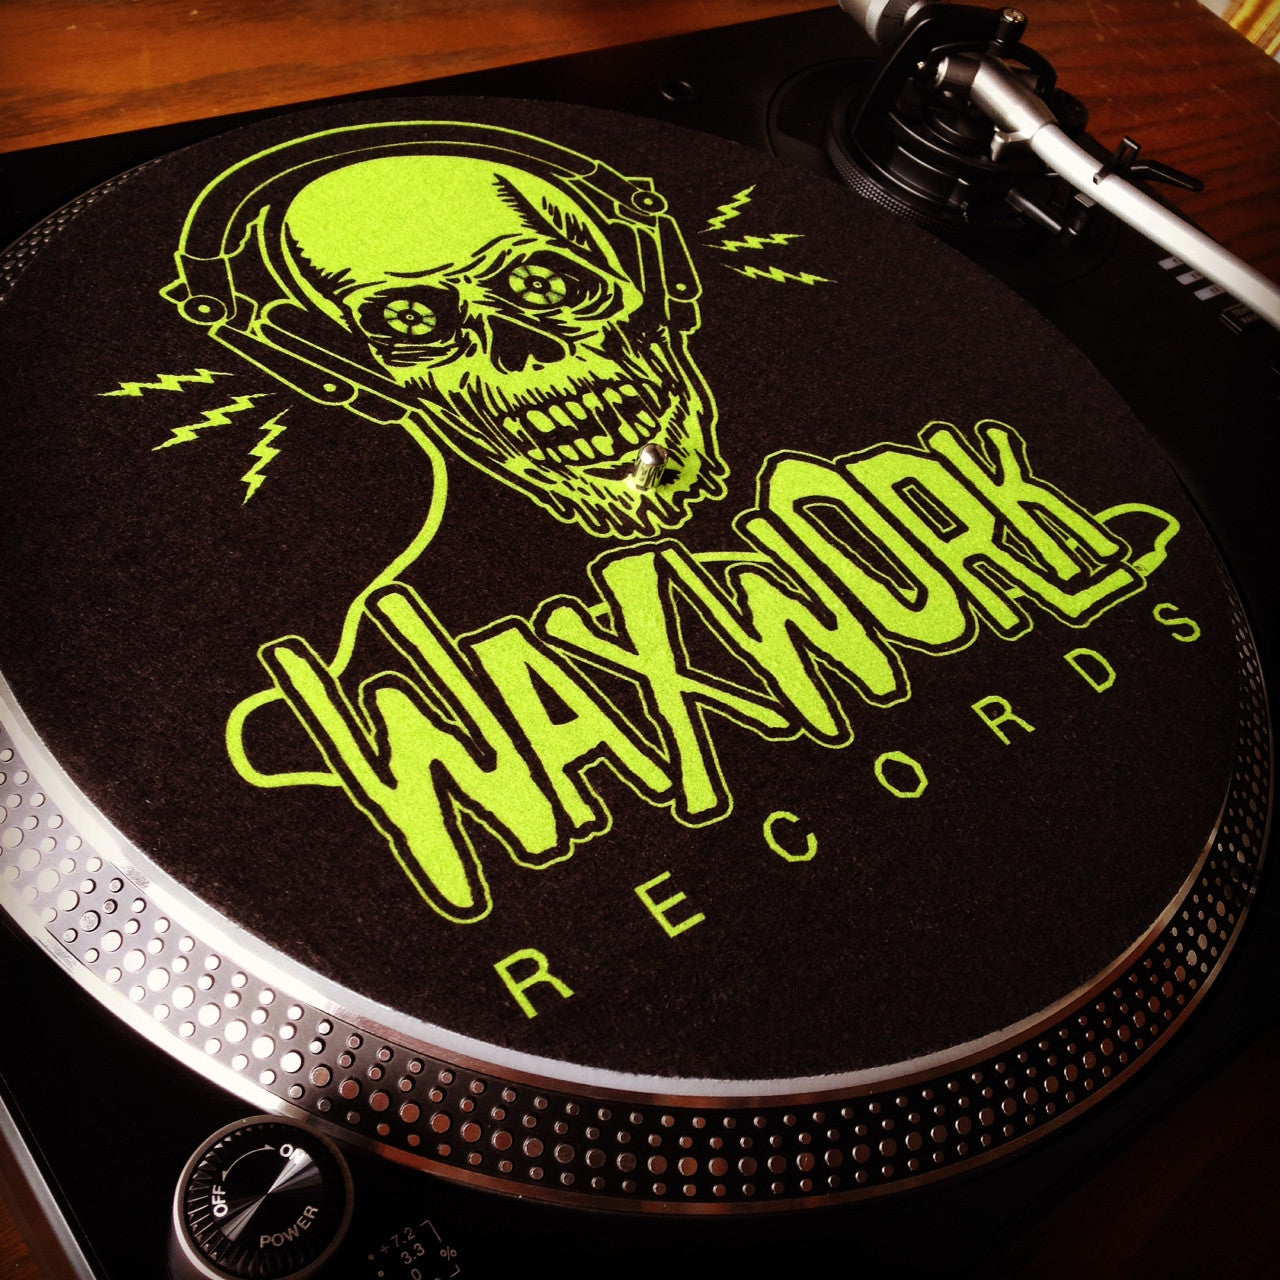
And Waxwork Records has just combined the two into a cool new project release. Behold! The coffin-shaped skateboard deck, featuring Creepshow graphics from amazing artist, Ghoulish Gary Pullin!


Like what you see and want one for your wall? The pre-release is on now, but you have to hurry, because orders end TONIGHT!  Order yours here.

Should I or shouldn't I, should I or shouldn't I? I'm really going back and forth on this one, but I think I'm probably going to throw down for one. It's just too cool. And it reminds me of the classic (and VERY collectible) Misfits and Samhain coffin decks from the 80s!


Le Cadavre de Vodoun


The next completed prop to shamble out of the garage is my new, voodoo-inspired piece, Le Cadavre de Vodoun. The Voodoo Corpse has been prepped to meet with Baron Samedi, voodoo ruler of the graveyard, and be escorted to the underworld beyond the living...


The first piece that I started with was the coffin that would contain the corpse. I went straight from ScareFX's great tutorial on their $25 Full-Size Toe Pincher Coffin. I constructed the entire thing in a weekend and the detailed how-to was easy to follow. I ended up making a few minor edits to the measurements, as the cedar fence panels that I used may have been slightly thinner than the ones that were used for the tutorial. Also, the materials were slightly more than $25 at the local Home Depot. I decided that I liked the look of the wood as it was, so I didn't do any aging of any kind once it was built. I will be placing the finished piece in a dimly lit room, so the brightness of the bare wood would pop more in the low light...


Once the coffin was complete, it was time to turn to its inhabitant. I used a Costco skeleton and started corpsing it using a great how-to from Allen Hopps at Stiltbeast Studios. I used a .7 mil drop cloth wrapped loosely around the body, limbs and skull, and then went over it all with a heat gun. The heat worked great, as it caused the plastic to melt and seal itself onto the skeleton form. A few layers of plastic and it looked like a semi-transparent flesh. This technique is really fast and really easy...


Once the plastic corpsing was done, I simply coated everything with some wood stain, making sure to wipe off the raised areas with a rag. If you're going to try this technique, please wear rubber gloves as you probably don't want to stain your fingers Deep Walnut or any other dark wood color.

The stain took about 48 hours to dry completely, and once it dried, I went about adding the voodoo elements. I started with a quick necklace made of small skulls. The skulls came from Pat Catan's and cost about $5 for two small bags. I then added a skeleton key necklace (the corpse will use the key to unlock the gate to the underworld), using an old skeleton key that I had found in my grandfather's garage earlier this summer. The final touch was to add a faded skull face paint to the corpse's actual face. I added a red cross on the forehead and he was ready to be entombed. I placed him into the coffin and added some cobwebbing...


I'm REALLY happy with the way the dried flesh turned out. It's semi-transparent so that you can see some of the bones, yet still looks like it has been dried out over the years. Once the entire prop was together, the only thing left to do was get it into the correct lighting along with a few more accent pieces for some night shots. The complete piece below will be taking center stage of my voodoo crypt room on Halloween night. I can't wait!


Highbury Cemetery, 2010


Well group, another Halloween is in the books and it was our best yet. We ended up with about 150 trick-or-treaters and their parents by the end of the night. We even had an RV park in front of the house and ten people from up the neighborhood all jumped out to check things out. It was great.

This year we added our first animated prop, a shihatsu massager turned grave popper, but made many detail improvements in tombstones, lighting and fog. Plus, with a new camera, I went crazy with the pictures. (We also shot some video, so I hope to have a quick promo completed by the end of the week).

So without further ado, I present the 2010 edition of Highbury Cemetery:


A big, big, big thank you must go out to Jeff, Sharon, Karen, Neighbor Joe and Andrew for helping to make this year's haunt come together and run flawlessly. I couldn't have done it without you. A big thanks also go out to Neil and Margaret for coming over and then foolishly staying to help clean up afterward. But an extra-specially big, sloppy wet kiss goes out to my wife, Jenn. She single-handedly resurrected the animated grave popper when I started dropping the F-bombs and walked away and took control of the front porch redesign. You undoubtedly win this year's gold star award.

Thanks to Erick at Wonderful Wonderblog for stopping by and posting your work-in-progress photos here. You're more than welcome to come back next year and spread the fear!

I'm working on the video, so stop back to check that out when I get it finished. Also, be sure to keep checking back, as I'm officially announcing our first contest in the very near future. It seems as though I have an extra 2010 Highbury Cemetery shirt, so what better way to get rid of it than to give it to one of our readers! I won't give away any more right now, but make sure you brush up on your obscure horror movie knowledge.

Thanks again to everyone that helped out or stopped by with complements. You have made Halloween 2010 the best one yet.

Now it's time to pack everything way and get back to planning. We only have 363 more days until Halloween, 2011!