Showing posts with label screenprinting. Show all posts

"Monsters In Therapy" Series by Iain Burke


Here's a cool little retro-inspired screenprint series that I found while perusing Etsy. Monsters In Therapy by Iain Burke of Mummy's Hand perfectly encapsulates that tiny dark corner of self doubt that sometimes boils up in each of us.

And yes, even spooky monsters aren't immune to it, as each character questions themselves in a unique and truly humorous way.

I really love the 60's old-school monster illustration style of the entire series, paired with bold blocks of color and cool typography. Simple, spooky fun! Enjoy!
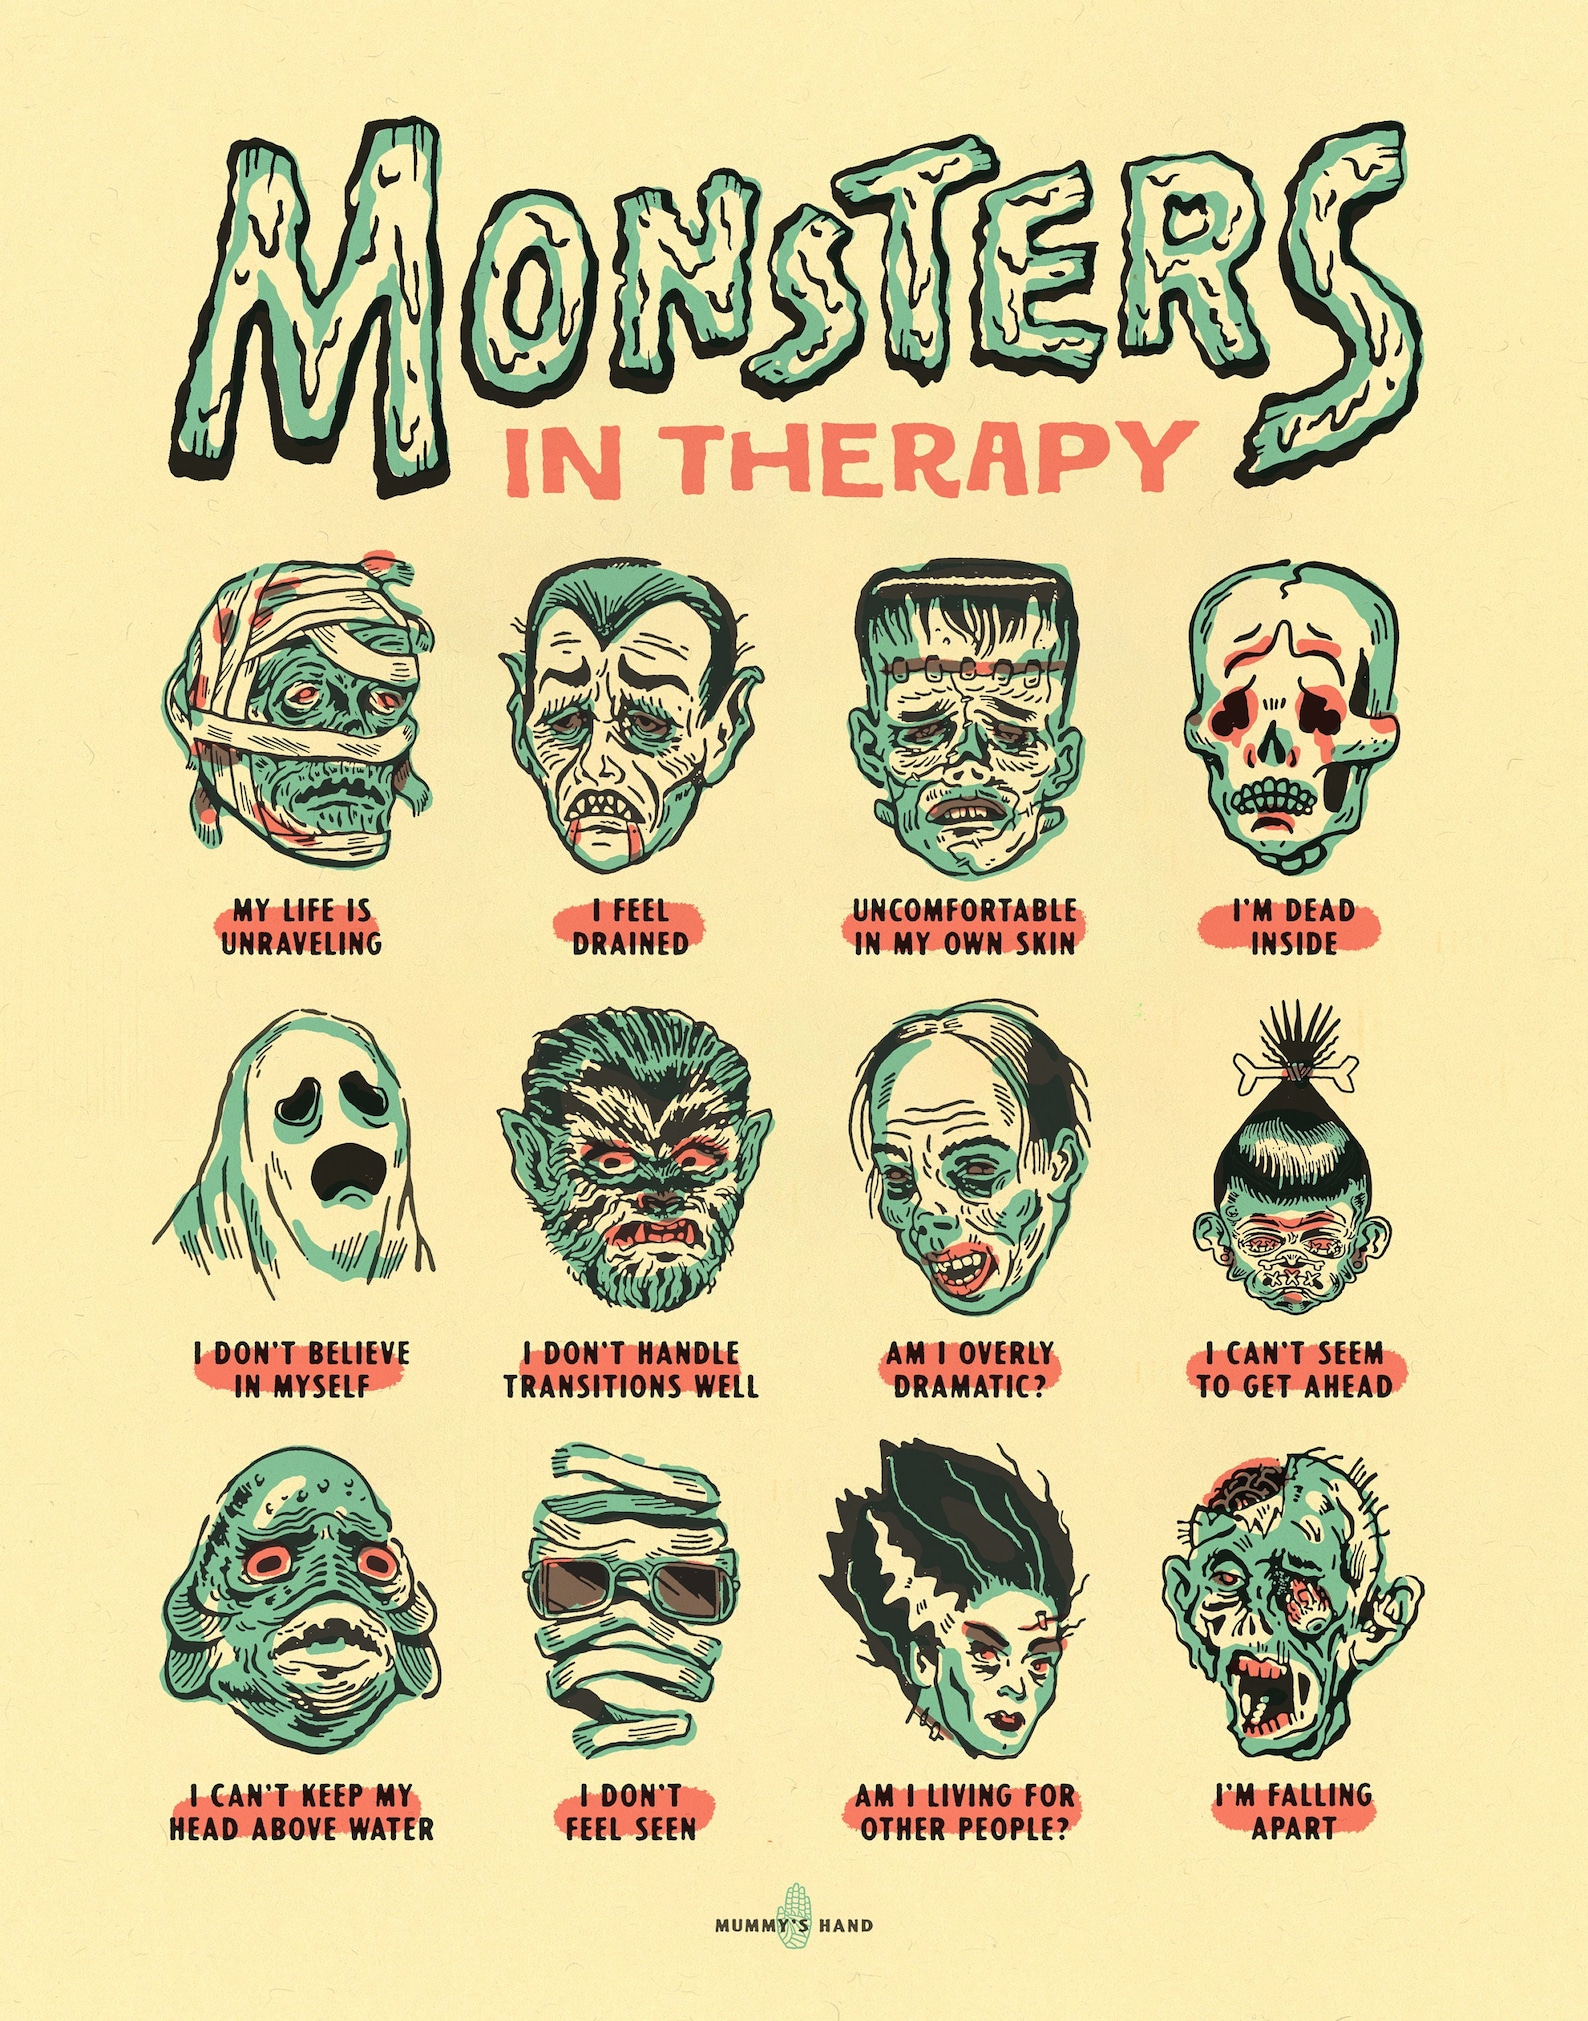
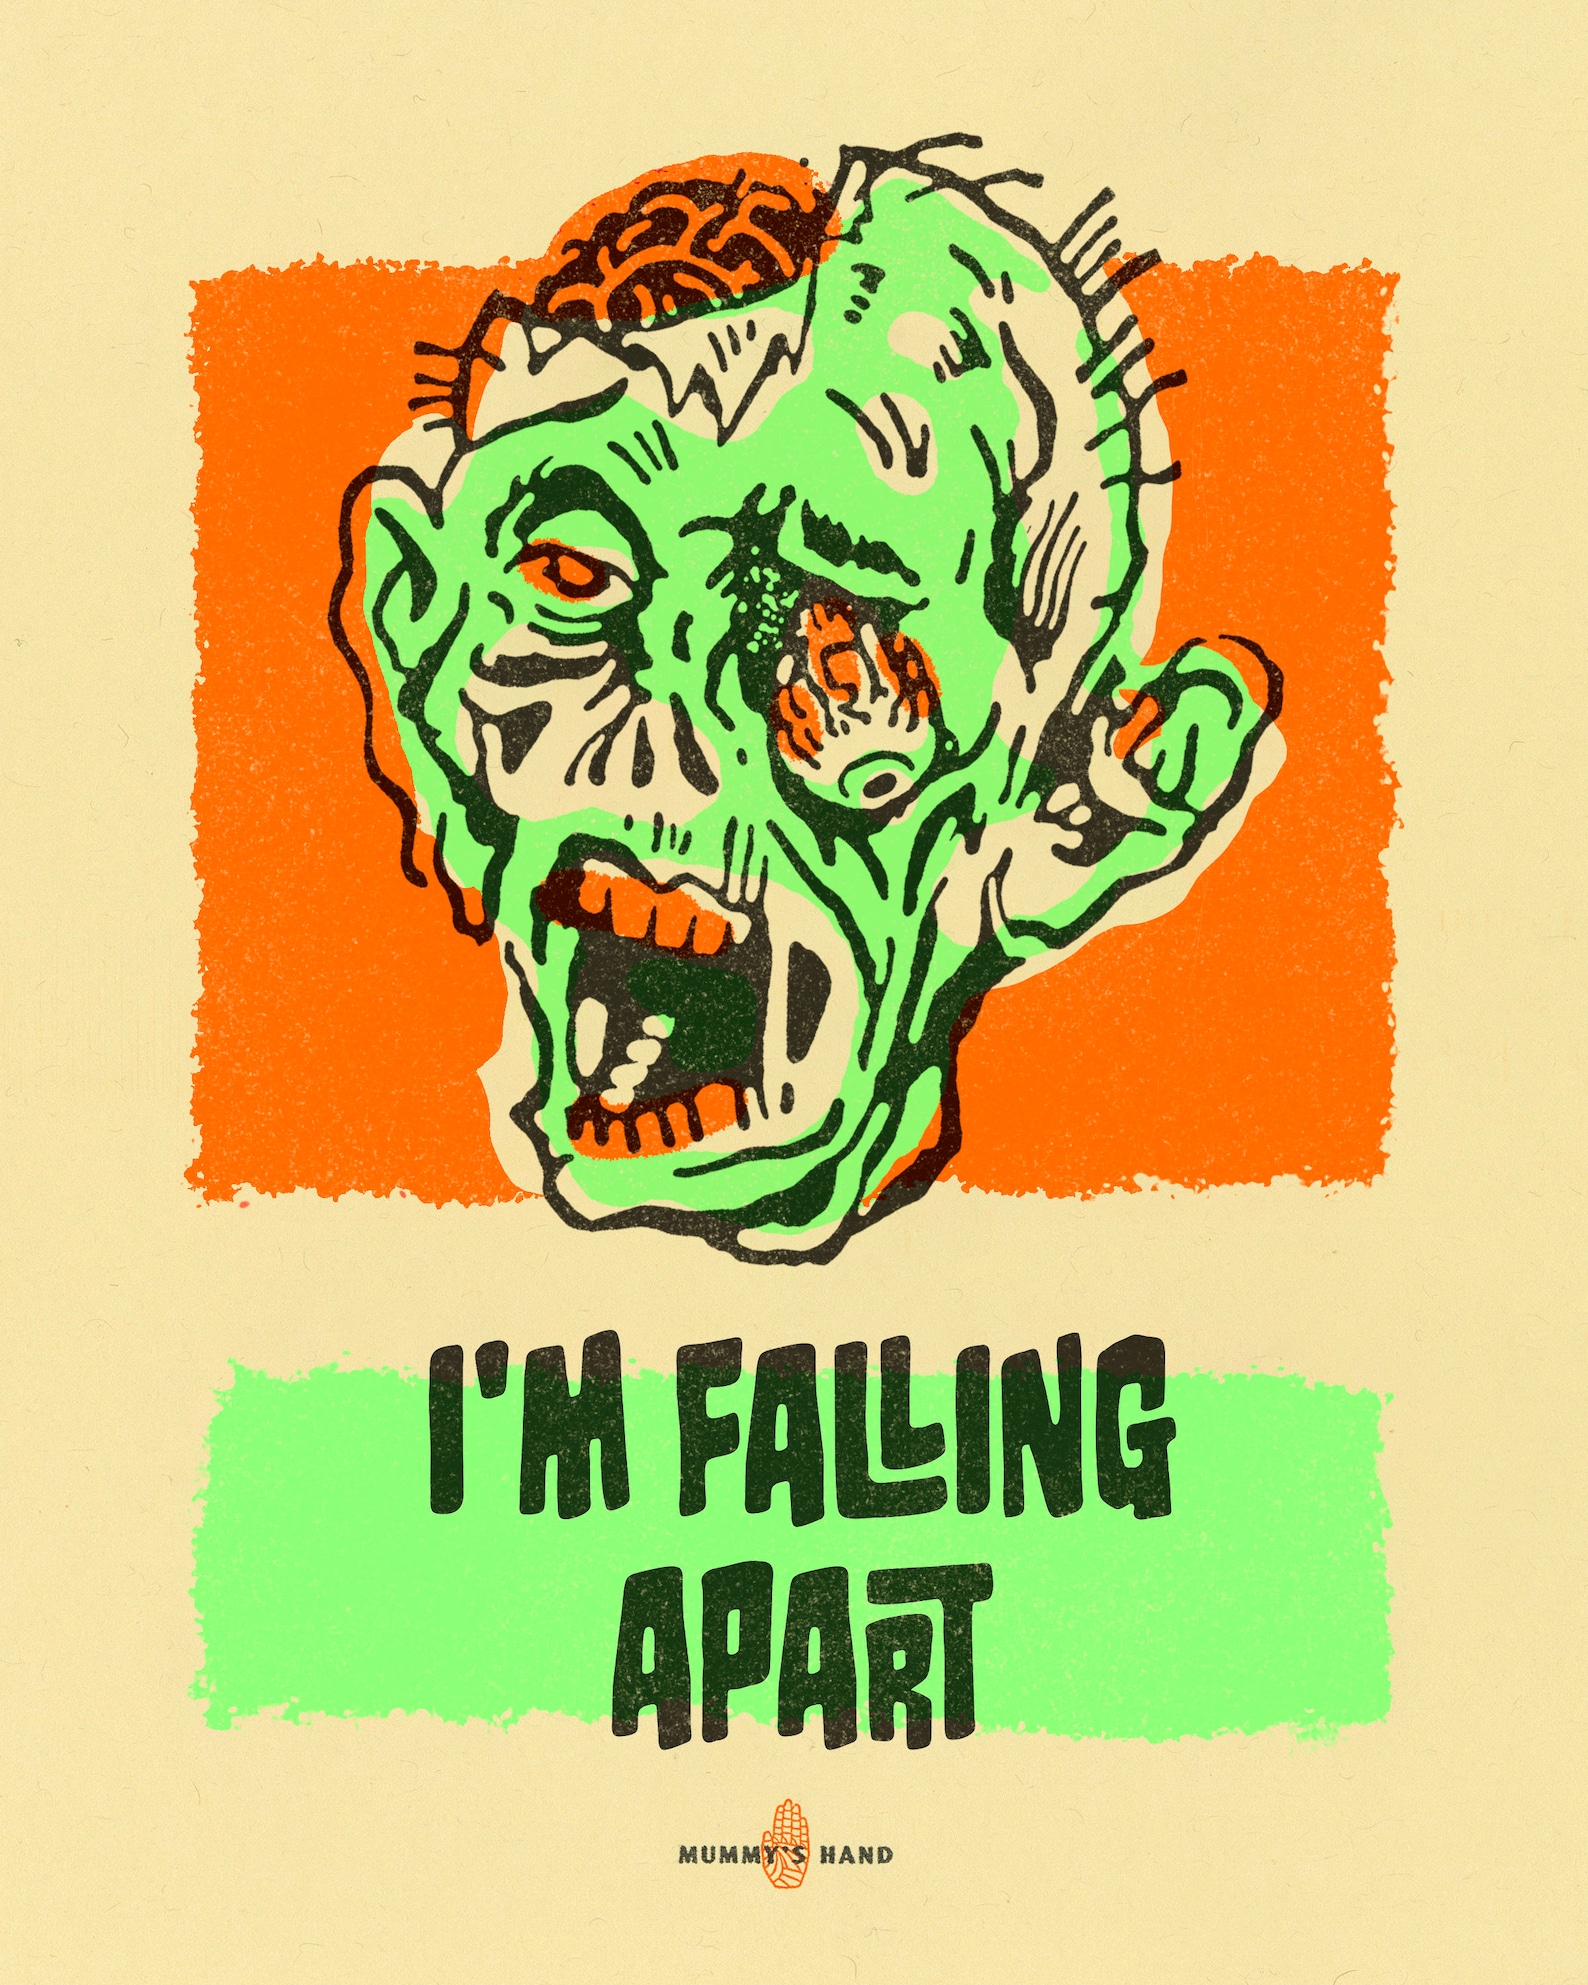
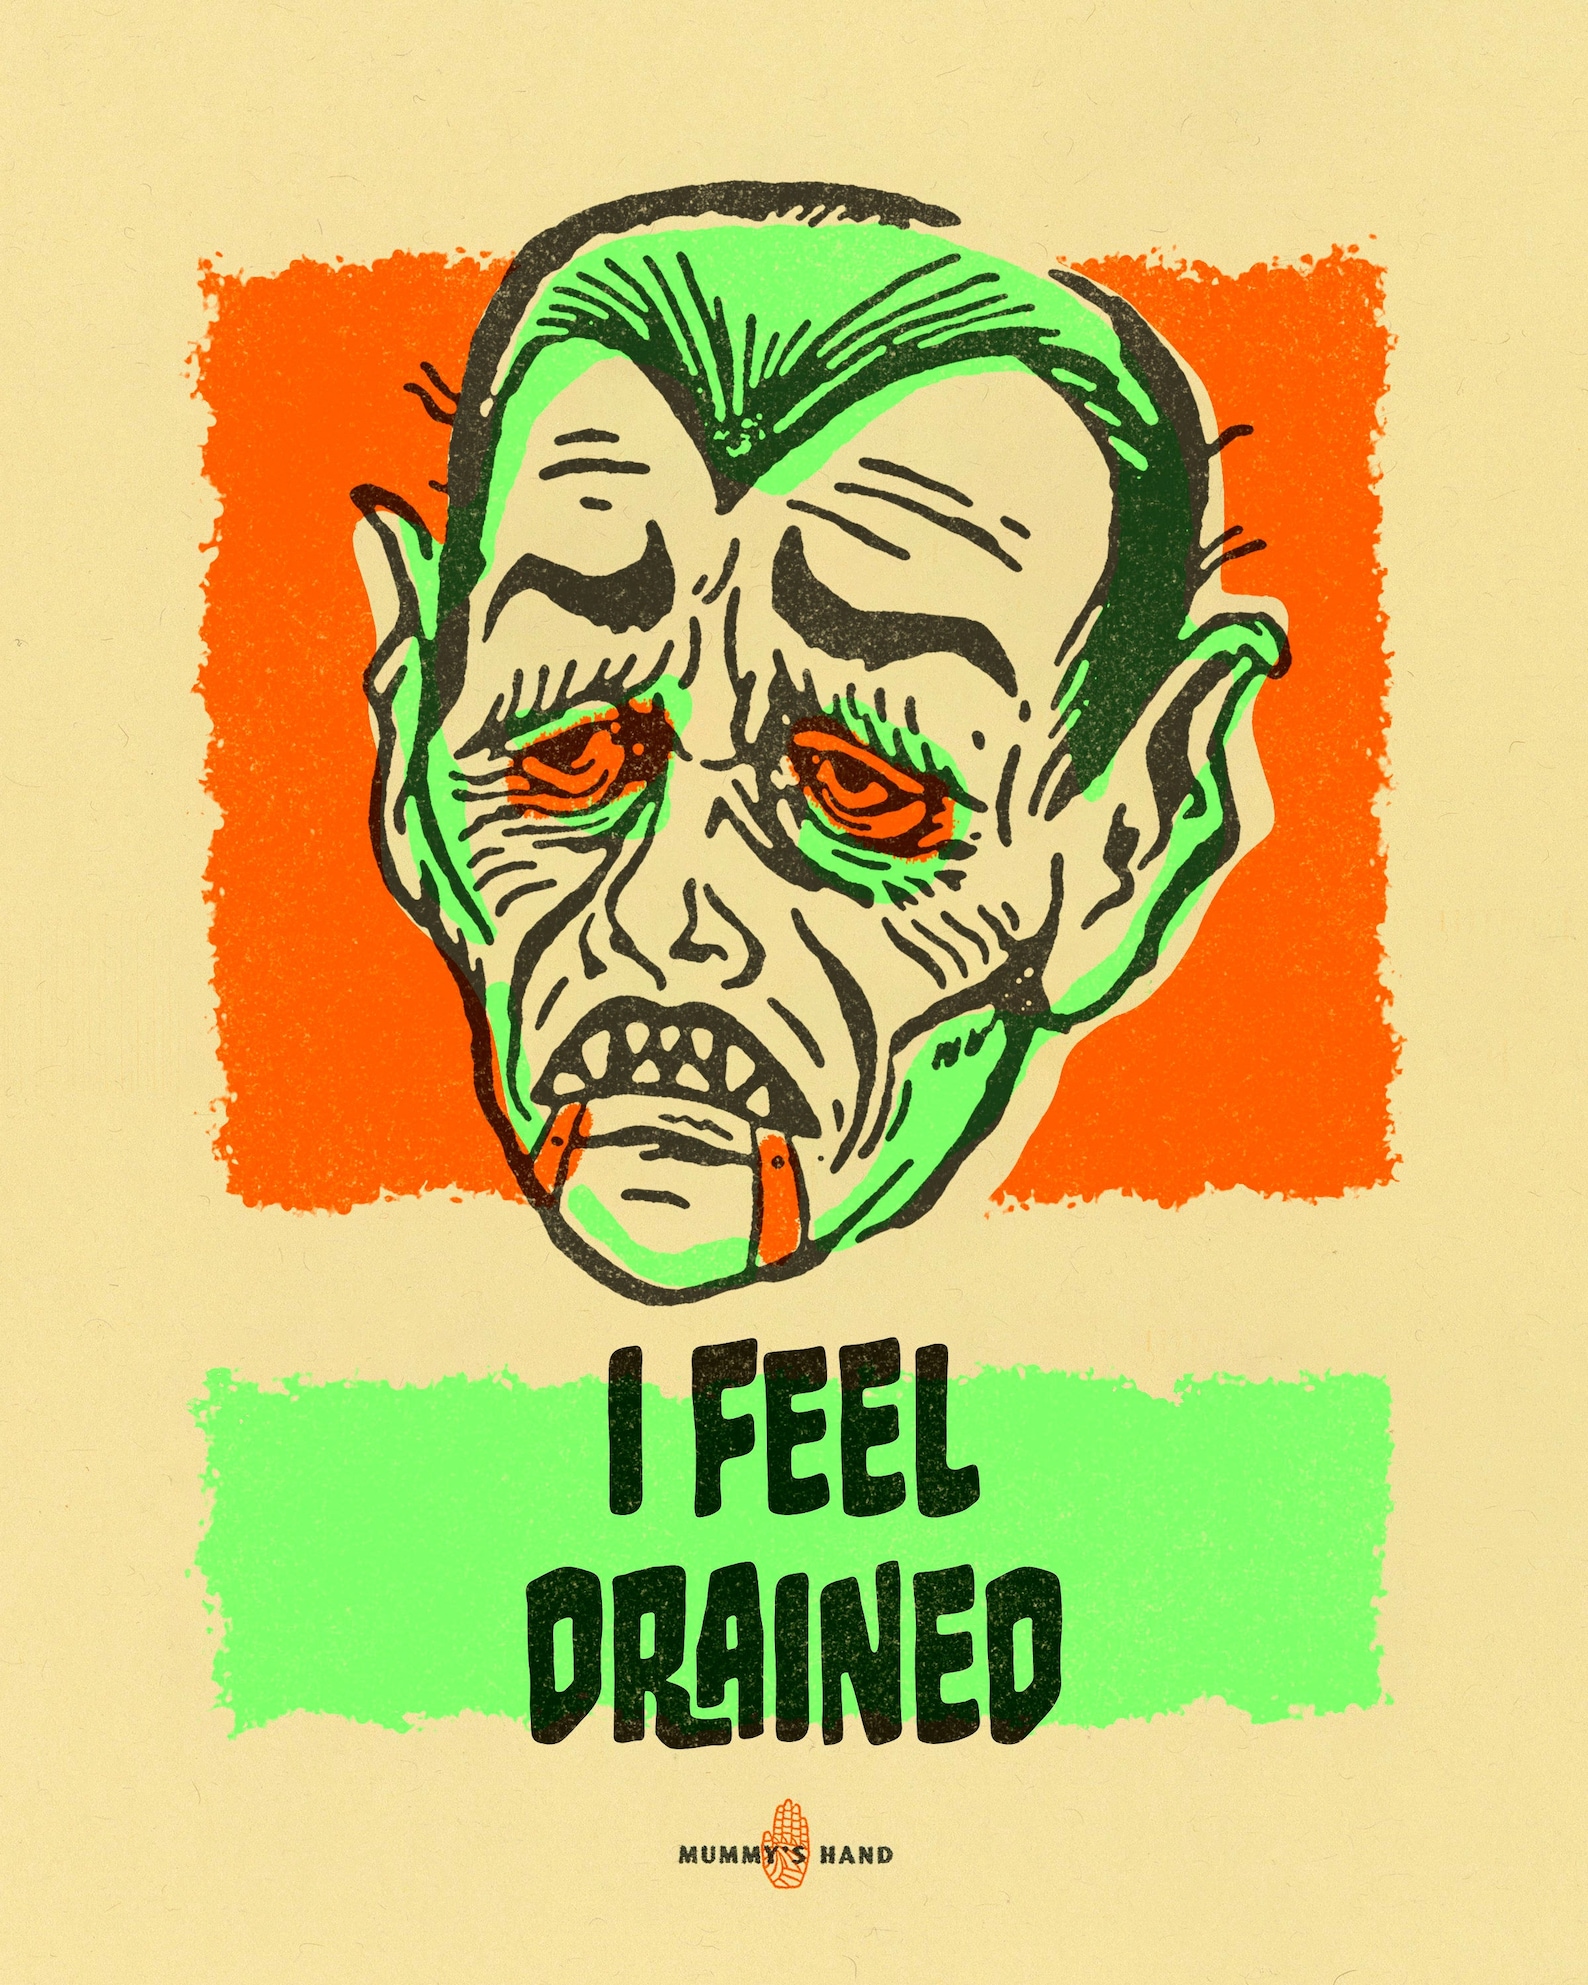
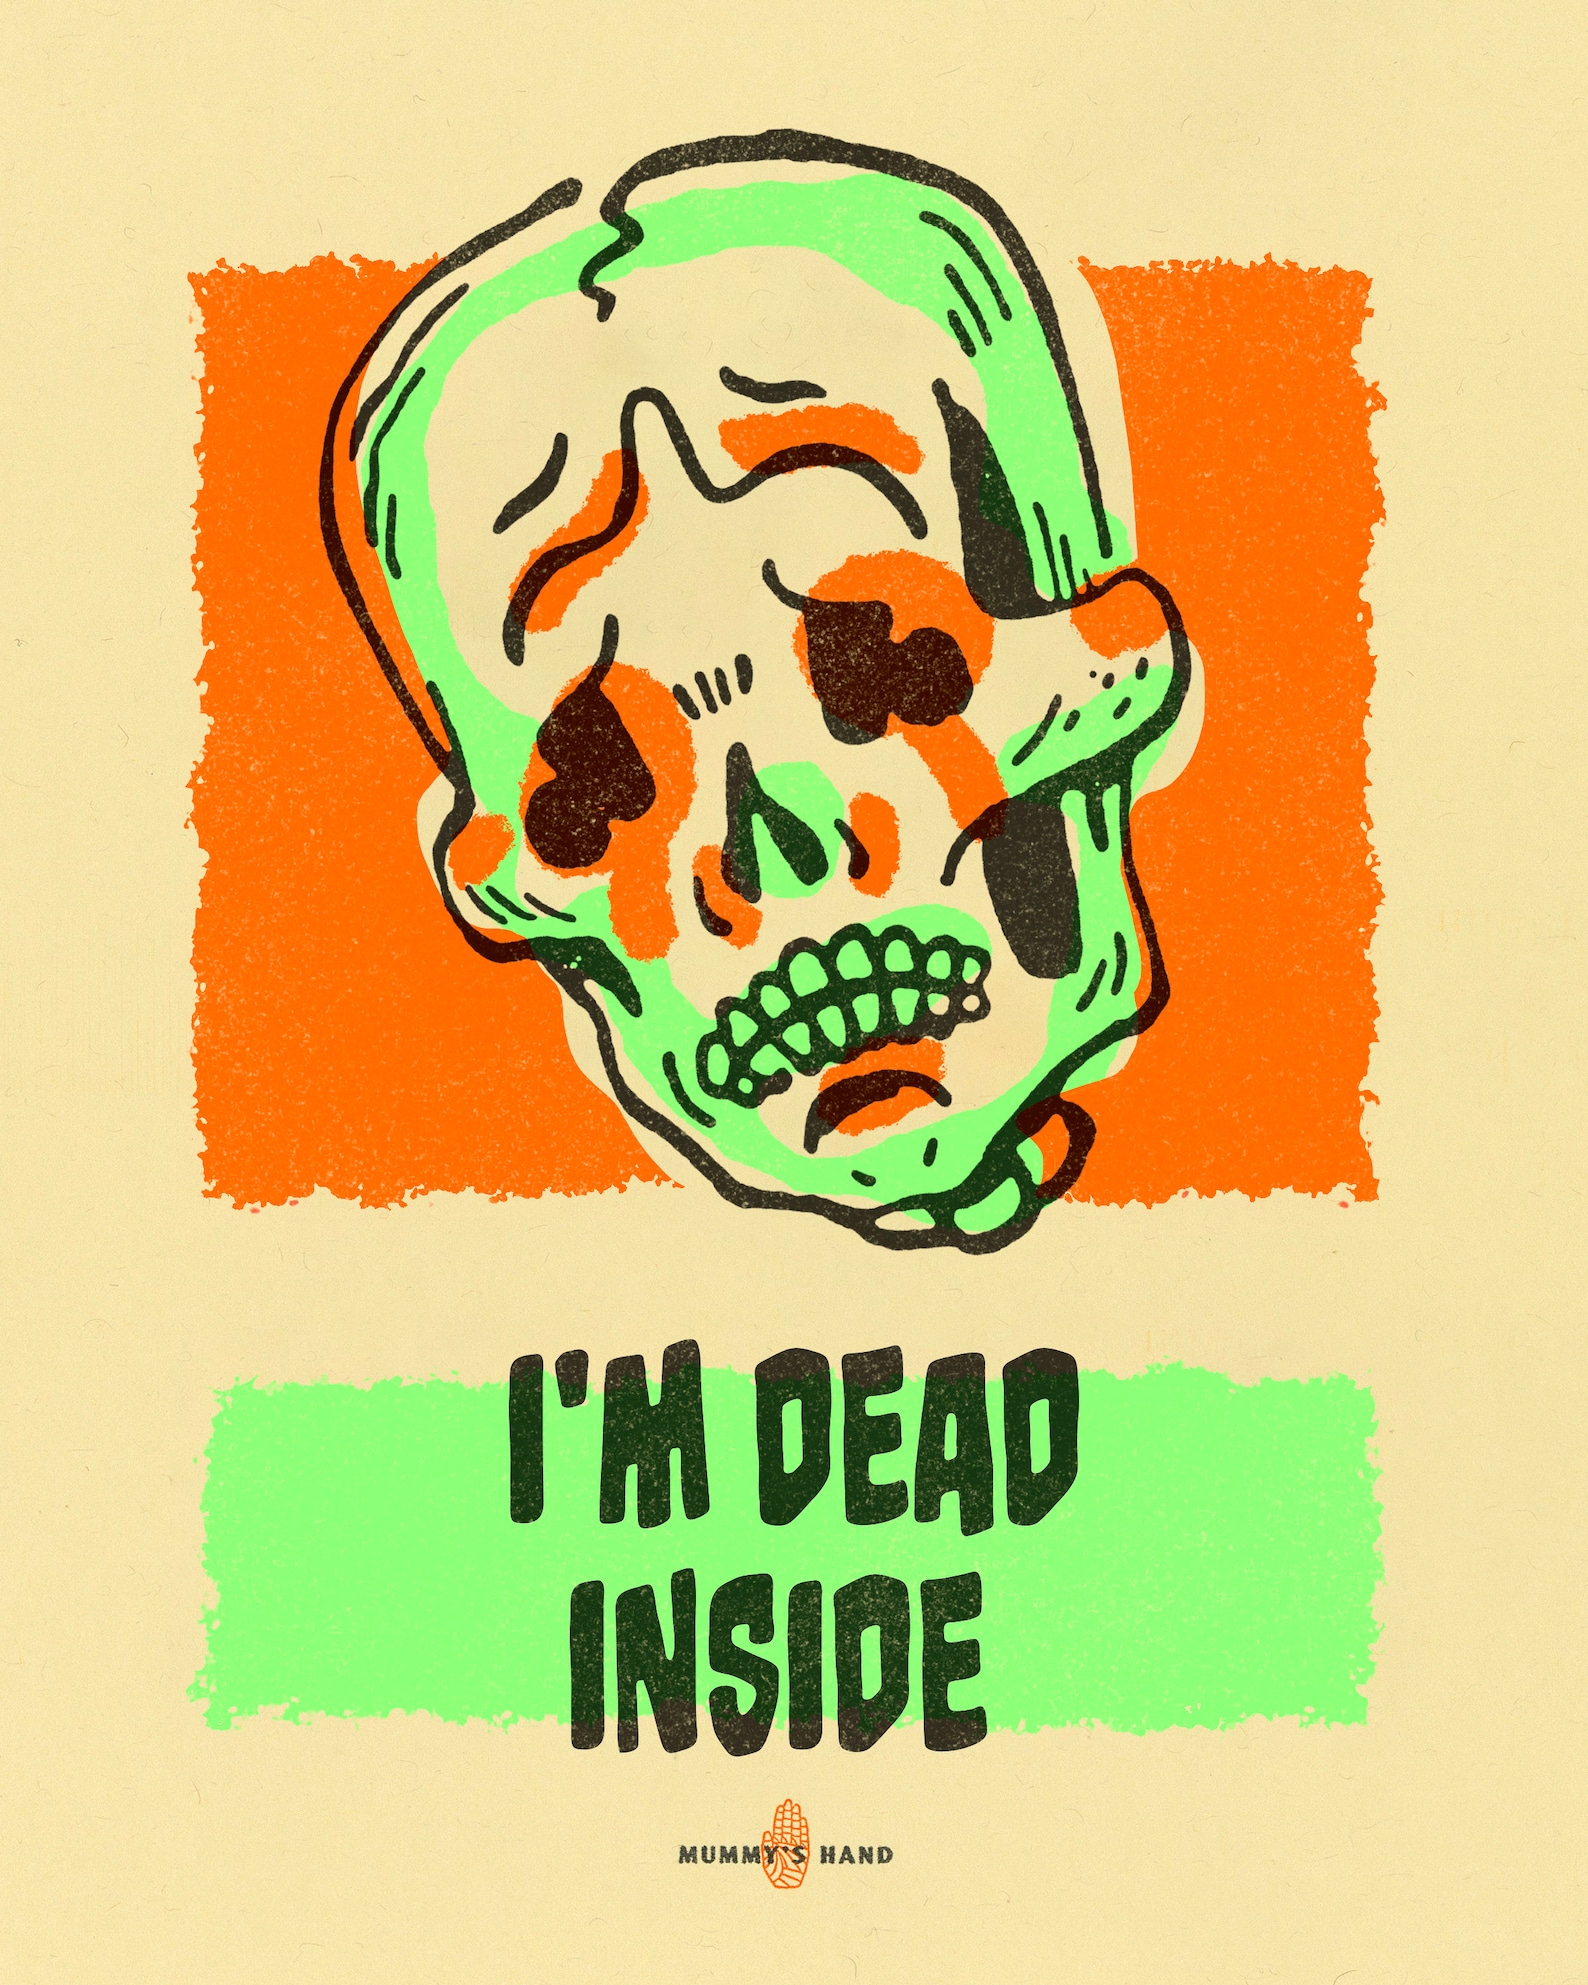
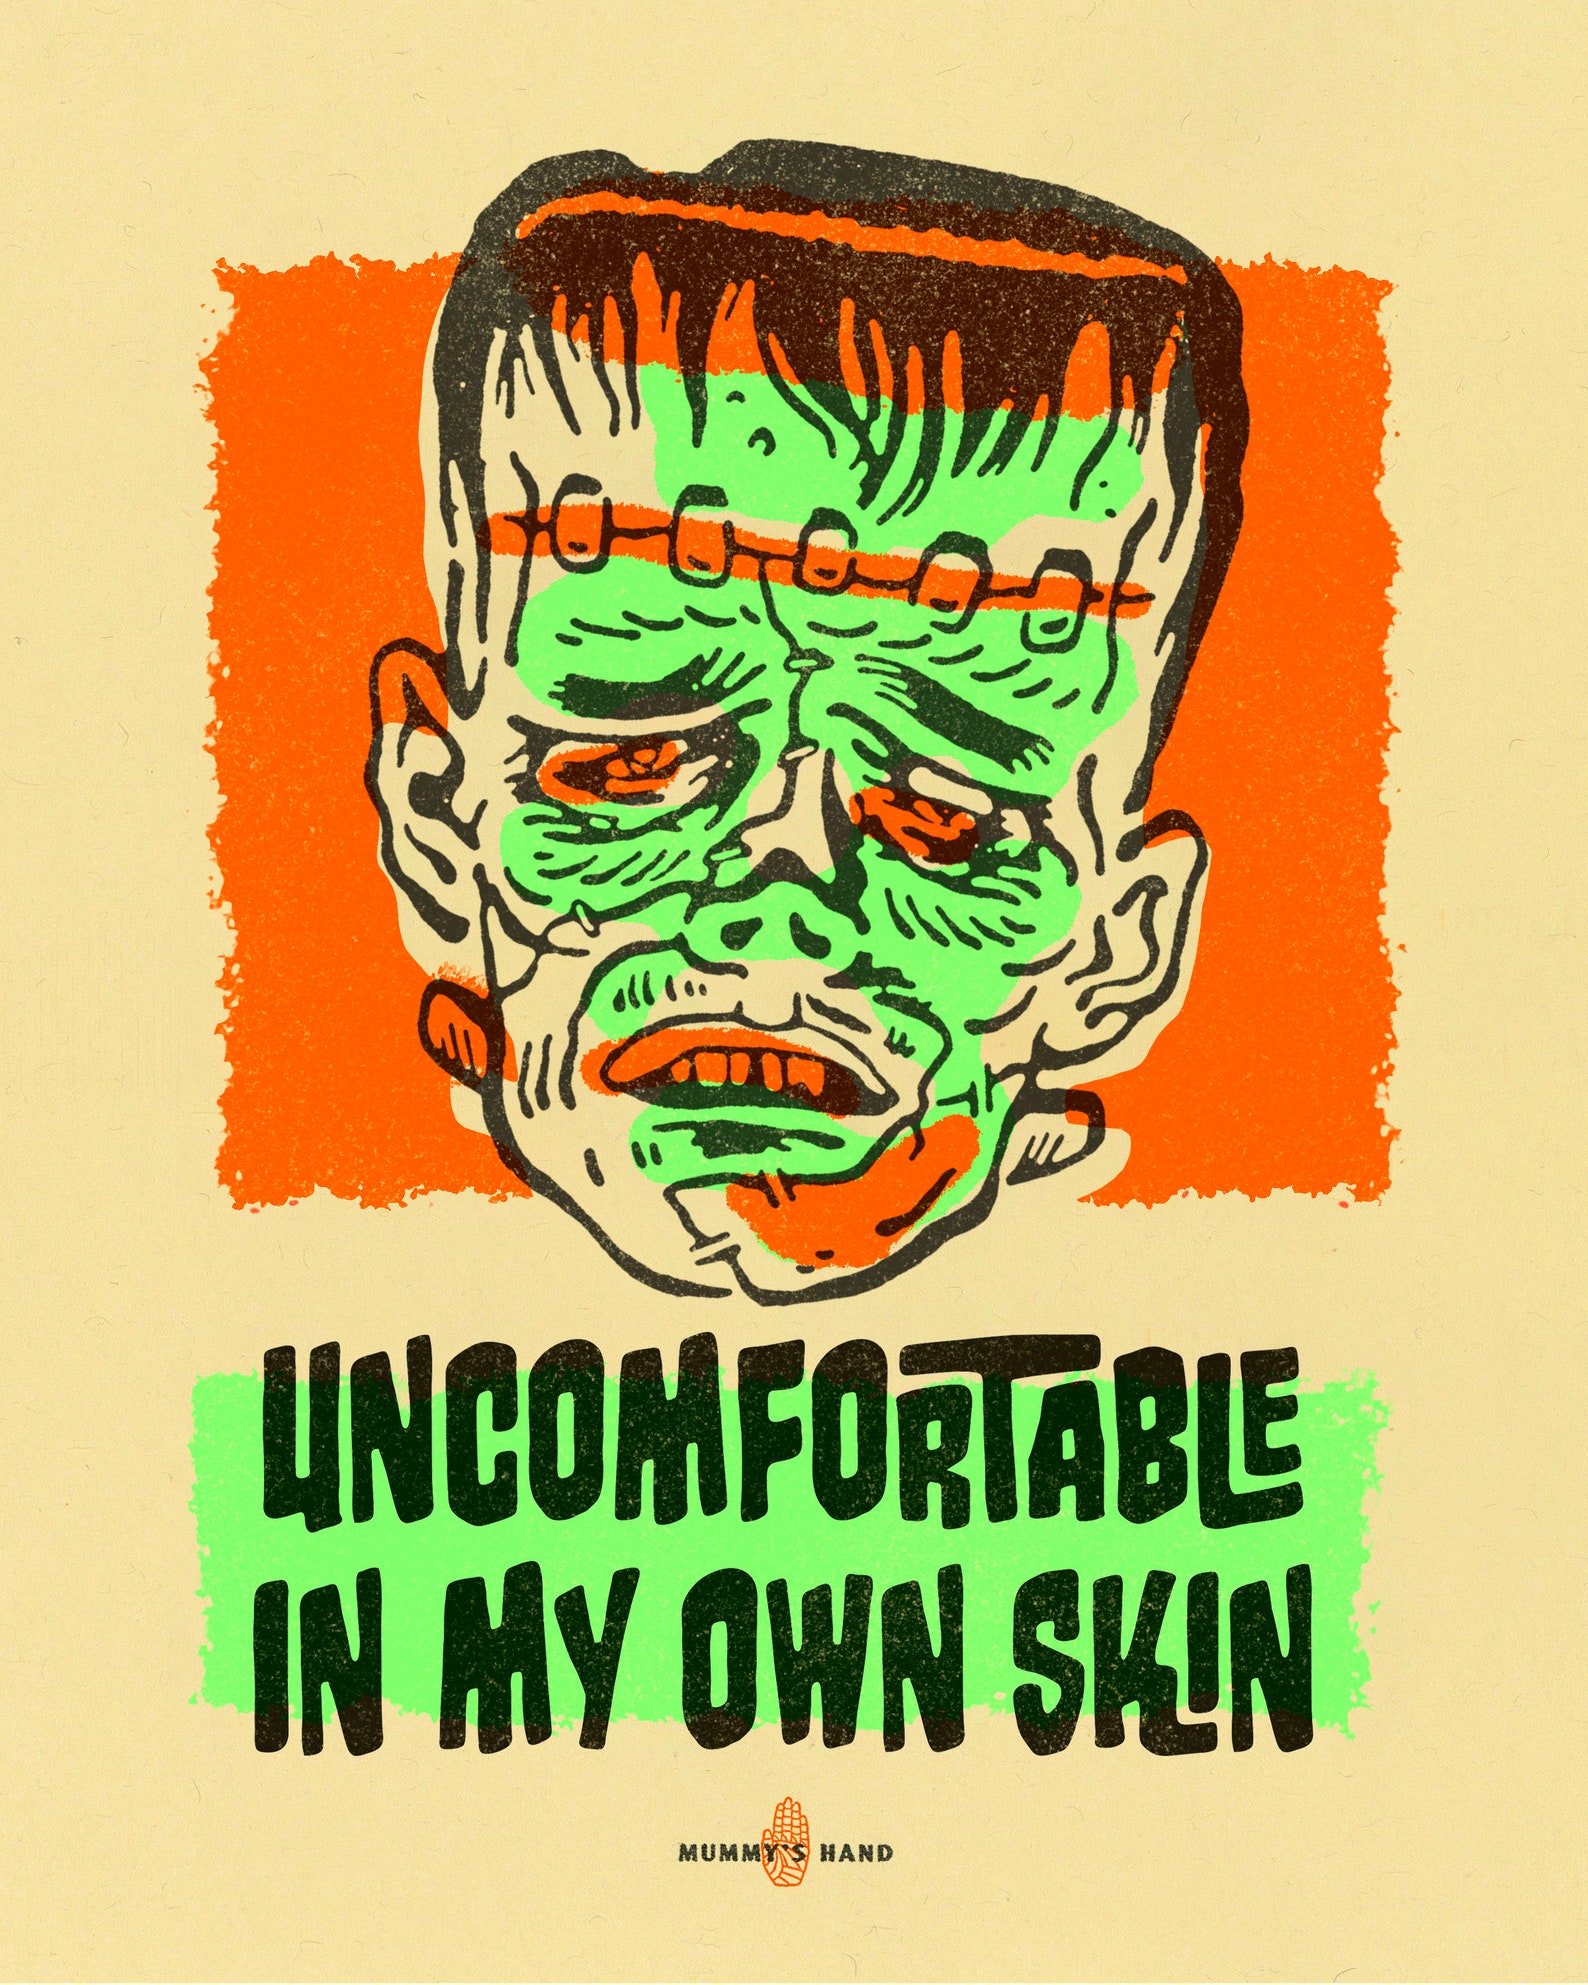
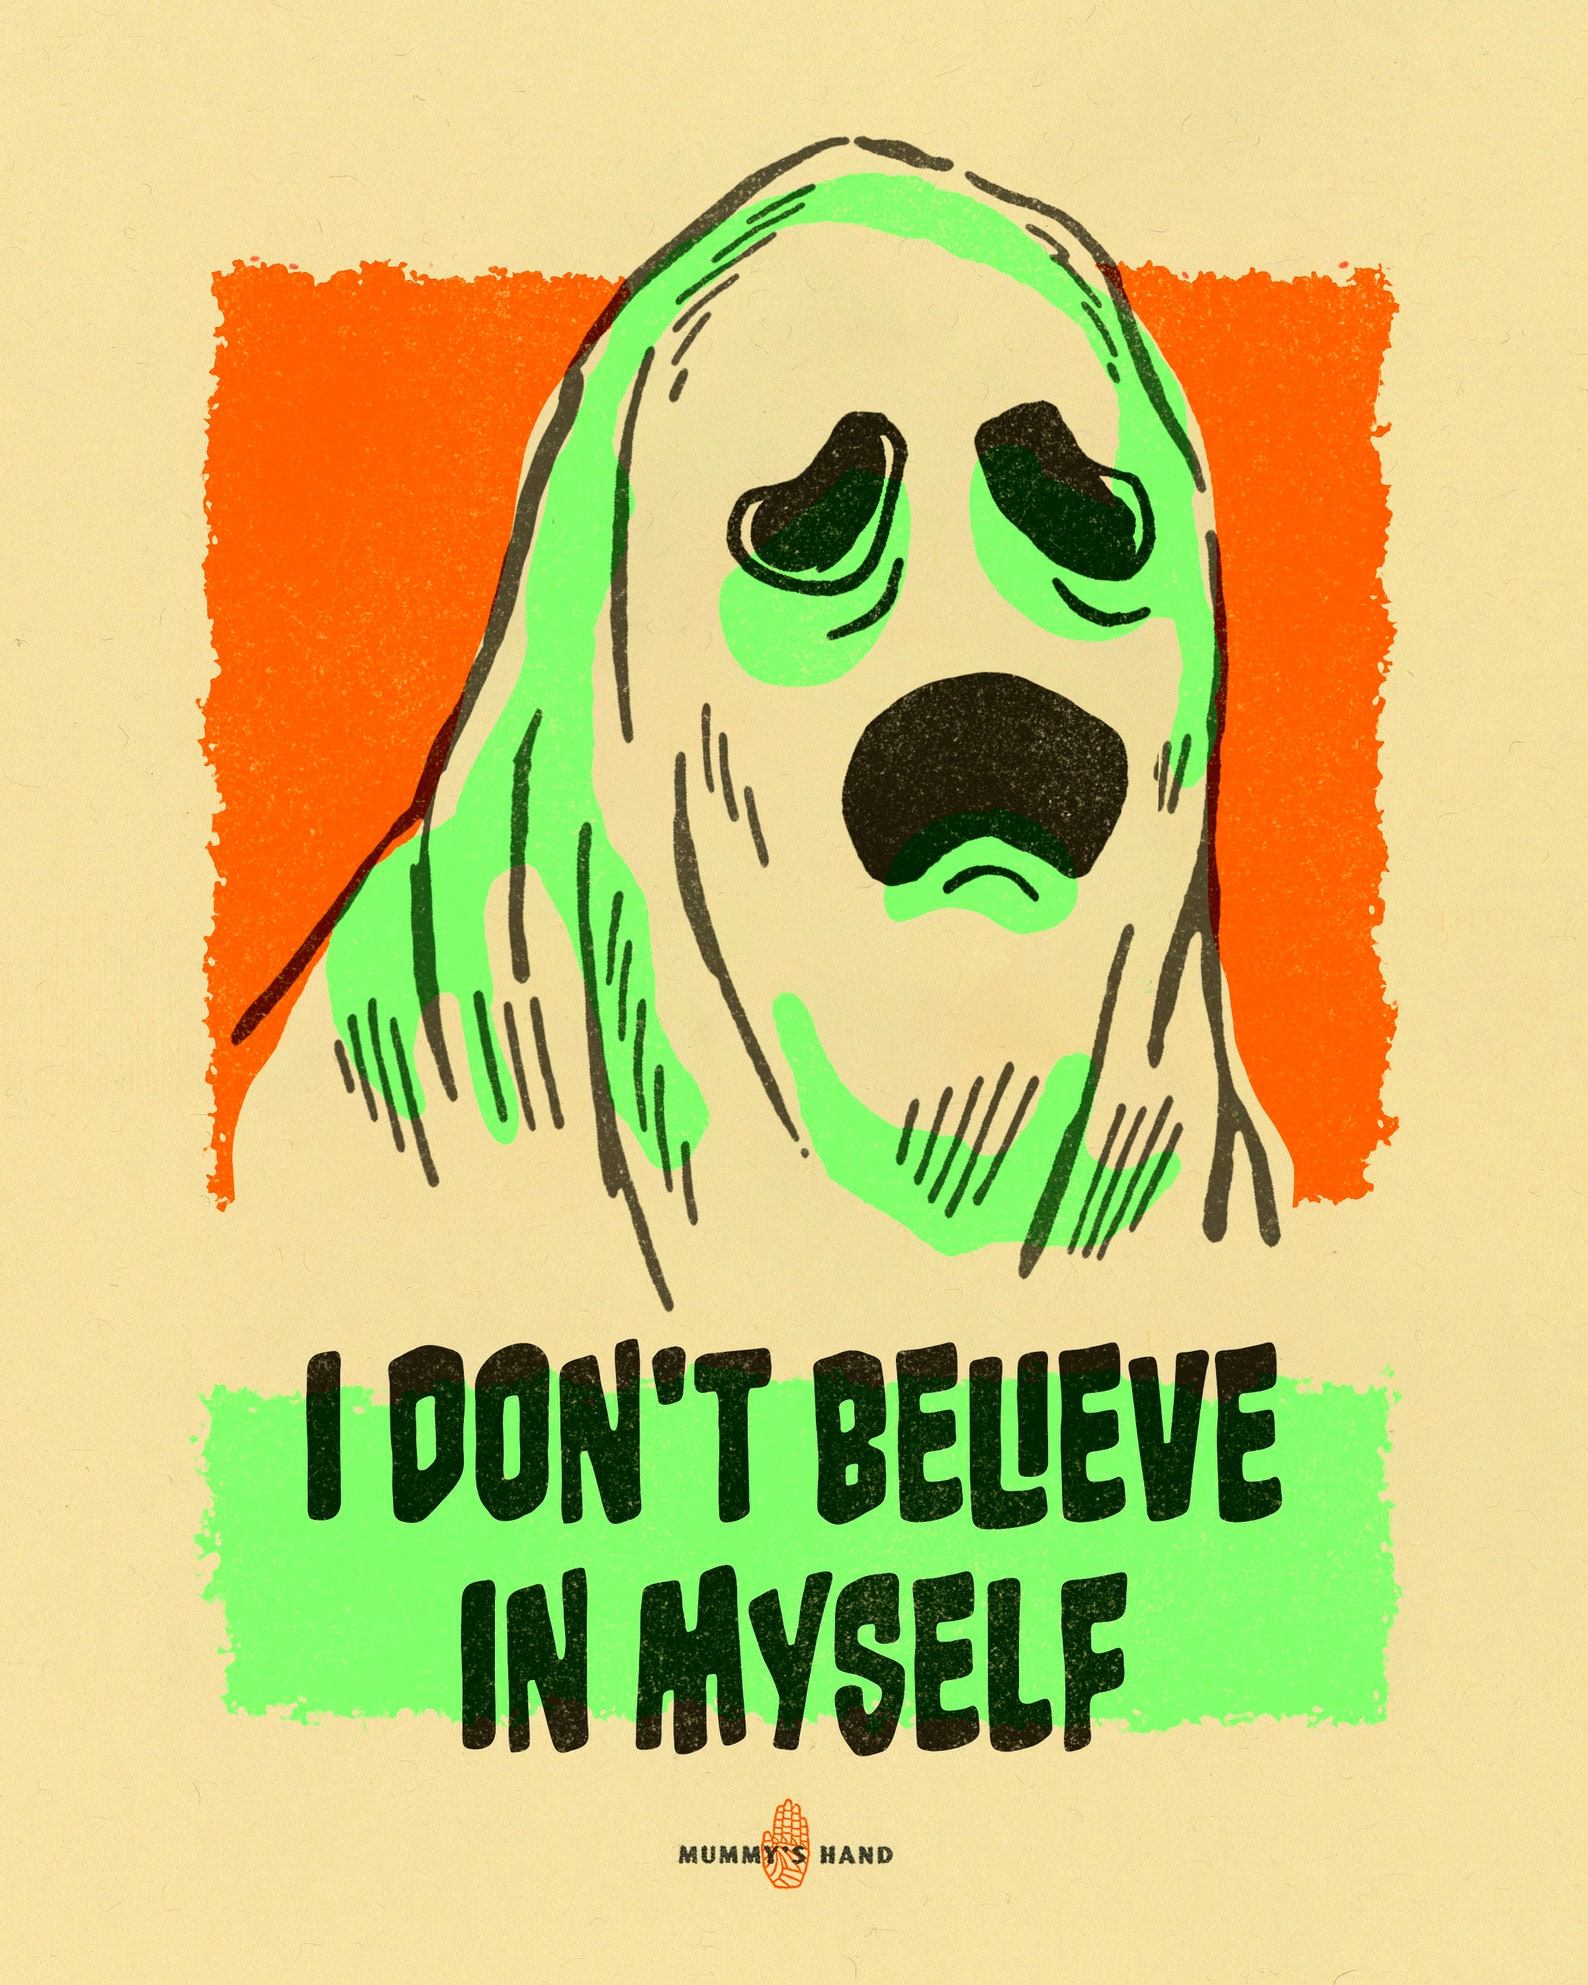


Check out the full 13-print series over at the Mummy's Hand Etsy shop!


DIY Screenprinting - Part 2


We're back with the second half of our DIY screenprinting how-to. Yesterday, we built a light exposure unit on the cheap, and we are now ready to get our final art transferred to the screen and ready to print.


Part 2 : Exposing The Screen

Before starting this step, there are a few items that you will need to have. I picked up everything on this list from Pat Catan's, but you can also get them at Michael's or even on Amazon.com.

Here is the list of items that will be needed (the links go to amazon.com for photo reference):

- 10" x 14" Speedball Screen Printing Frame
- 10" Squeegee (for spreading both the emulsion and then the ink)
- Speedball Diazo Photo Emulsion Kit (contains a bottle of photo emulsion, a smaller bottle of developer and a bottle of emulsion remover)
- A clean piece of glass or plexiglass that is larger than the screen (I used a piece of replacement glass for a picture frame)
- A piece of inkjet-compatible transparency

To begin part 2, we must have artwork ready to use. For this how-to, I used the artwork for our new 2013 yard haunt shirt, based on our new logo. I created this artwork in Adobe Illustrator. I recommend using it or another vector art-based program when setting up your work versus a pixel-based program like Photoshop. The vector art will give you clear and crisp shapes and will produce a better image when printed.


The final artwork was converted to a black and white image (no greytones), where the black will print through and the white will block out. Once the art was finalized, I printed it out on a piece of inkjet-ready transparency. I made sure that I used a "best quality" setting on the printer to insure that I got a rich black on the printout. If you don't have a piece of transparency, you can take your art to a local FedEx Kinko's and have them print one for you.


Once the transparency was printed out, it was time to mix the photo emulsion and apply it to the screen. The Diazo Photo Emulsion was easy to mix (add water to the developer bottle and then mix that into the emulsion - the final mix will turn green) and was very easy to apply, as you did not have to apply it in the dark. I used the squeegee to apply a thin, even coating to both sides of the screen.


(Note that the dark image on the screen in the photo above was a ghost image from the previous project that was applied to this particular screen. The black ink from that previous screen actually stains the screen, but the screen was completely cleaned before the new emulsion was applied.)

Once the even emulsion coating is applied, I let the screen dry completely in the dark. I could be wrong, but I think that once the emulsion dries, it becomes light sensitive, so keep it in very low light until it's time to use the exposure unit...

When the screen is completely dry, it is ready for the image to be burned into it. This is where you take the transparency printout and tape it to the bottom (flat) side of the screen. VERY IMPORTANT: be sure to attach the transparency "backwards." This way, the image will read the right way when you go to apply the ink from the opposite side.

With the transparency taped tightly to the bottom of the screen, place it onto the light exposure unit. Place the oversized glass on top of the transparency. This will form a tight seal on the screen and insure that you get nice, crisp contrast when the screen gets exposed to the light.

Once everything is in place, turn on the halogen lamp on the top of the exposure unit.


I have found that an exposure time of 15 minutes works well with a 500 watt lamp. Simply turn on the light and leave it be. After the 15 minutes is up, turn off the exposure unit lamp. I have a utility tub in my basement that I use to wash the screen after exposing it. I run lukewarm water over the screen at a brisk flow. After a few minutes, the areas that were black on the transparency will wash out, leaving your new image in your screen. Be sure to wash all of the detail areas out, because the ink will only pass through the open areas of your screen.


Gently dab the excess water from the screen with a paper towel, and then let the screen dry completely overnight. In the morning, your new silkscreen will be ready for printing.


DIY Screenprinting - Part 1


Every year, I screen print one-color t-shirts for our home haunt and give them out as a thank you to everyone who comes over and helps put up, tear down or just gets dressed up and scares on Halloween night. I have always created the artwork and then passed it off to a friend (who has his own screen printing studio) to create a screen for me.

Last year I finally decided to bring the whole process in-house and was surprised at how easy and inexpensive it was to do. By following this quick two-step process, you can create simple shirts, posters, patches and more for your home haunt or Halloween project.

Here is part one of setting up your own in-house screen printing studio...


Part 1: Building Your Light Exposure Unit

In screen printing, you are dealing with positive and negative space in your art. In simple terms, the positive (black) area of your art will be the areas that will have ink and the negative (white) areas will block out. 

To get a print-ready screen, you must first have a silk screen covered with a light-sensitive emulsion coating and a positive/negative transparency (which I will cover in Step 2). This screen must be exposed to an intense light source so that the screen will be activated and ready for printing.

The first step in this process is building your light exposure unit. Here is the simple materials list needed to build the unit pictured below.


Note that the unit isn't perfectly square or made with the highest quality materials. Our goal is to simply make a unit that will support the light at the top. I gathered scrap 2x4s from the garage to make the framework and picked up the light from Lowe's.

Here's the breakdown of materials used:

- 2x feet @24" each (The feet will need to be long enough so that your silkscreen can lay flat across them when it is being exposed. Be sure to attach these board flat - this way the screen will have a solid base to rest on)

- 1x base @20" (the feet will screw into either end of the base)

- 1x support post @18" (this is the vertical piece that supports the arm)

- 1x arm @ 10" (this piece will support the light)

- 3" screws to put it all together

- 1x 500 watt utility work light. I used this one at Lowes.

Once you have all of the pieces of wood screwed together to look like the framework above, tighten the clamp on the light and firmly attach it to the end of the arm. You want to make sure the light is tight because you don't want it moving around when exposing your screen. You'll also want to make sure the light is positioned directly above the center of the feet. When exposing the screen, you'll want the light to shine directly down onto your screen so that there are no shadows from angled lighting.

And just like that, you have finished the hardest part of the screen printing process! Tomorrow I'll show you how to create final artwork and expose your screen in preparation for printing.


Highbury Cemetery 2012 Shirt


We were finally able to bring 100% of the screenprinting production in-house this year, as we built a new exposure unit and bought some new screens and inks. The first screen exposure was a success and the first batch of Highbury Cemetery 2012 shirts have been printed.


The shirts were all hung from the piping with care,
so the very special ink color could dry with the air...


As it stands now, there will only be one small run with enough shirts to be given away as a thank you to those who come over and help set up on Halloween night. We've had a few requests, so we'll consider printing a larger run and making them available to the public next year, when time allows.

So for now, you'll just have to wait. 


Unless you want to come back tomorrow. Because tomorrow (Friday) night we will be having our annual one-question trivia contest where we give one shirt away to a savvy reader. Be sure to brush up on your obscure classic horror movie trivia, because like last year, I'll see some random image or name in a horror movie and I'll end up using it as a trivia question...